Invite employees to the project
Invite employees to a project to synchronize them with the CRM and enable work in a single window in Scenario Dialogs.
Before inviting employees, you need to create a role under which the employee will be added to the project:
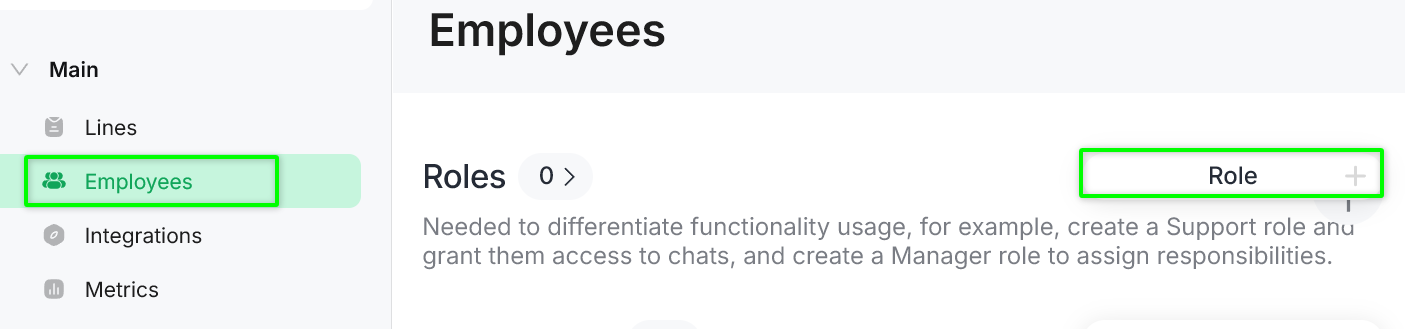
Step 1. Go to «Main → Employees» and click «Role +».
Step 2. Enter the role name.
Step 3. Configure access permissions for employees with this role.
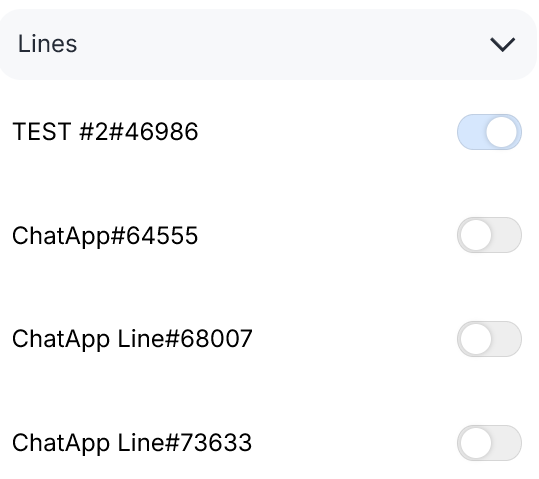
This tab displays a list of lines connected to the project. You can grant the employee access to all lines at once, select several lines, or choose only one.
If the required lines are not displayed, check whether the line is linked to the project.
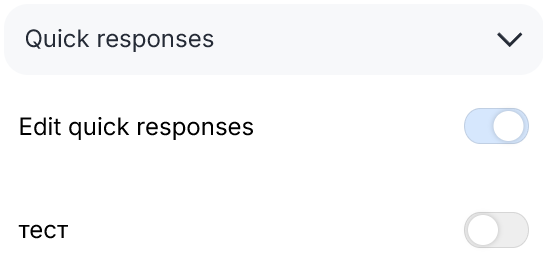
Employees can reply to customers using preconfigured quick reply phrases. However, if there are too many templates and the employee has to spend time searching for the right one, the reply will no longer be quick.
Therefore, assign a separate set of replies to each category of employees (role), and remove the rest from the list.
You can also allow employees to edit templates.
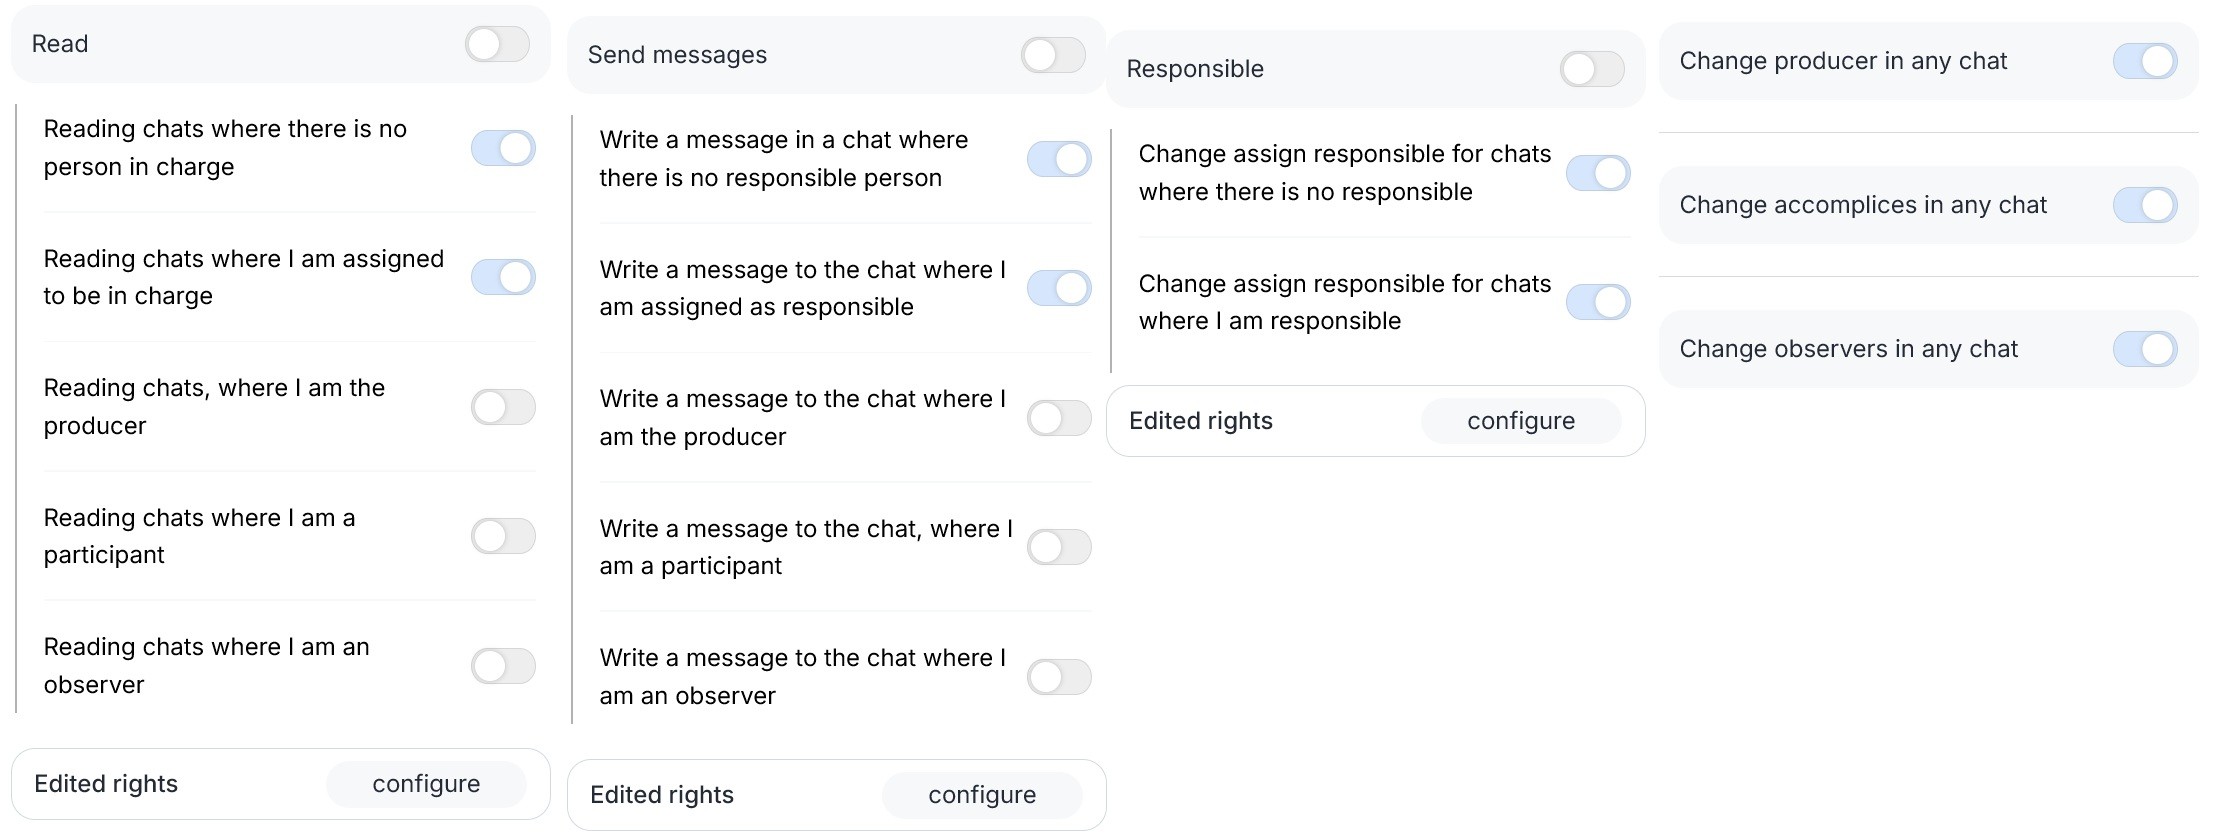
This tab is used to configure full or partial employee access to chats.
You can allow:
- viewing chats;
- sending messages;
- assigning responsible users.
To access advanced settings, click «Configure».
Full access to chats
Grants all available permissions automatically. No additional configuration is required.
Read
Allows the employee to view chats without the ability to send messages.
Send messages
Allows the employee to send messages in chats.
Responsible
Allows the employee to assign responsible users in chats.
The following roles are used in Scenario Dialogs chats:
- Responsible — the primary chat participant responsible for handling the chat;
- Initiator — an additional role with permission to view chat information;
- Co-executor — an additional role with permission to view chat information;
- Observer — an additional role with permission to view chat information.
Example of a configuration where an employee:
- can initiate chats;
- automatically becomes the responsible user;
- can assign responsible users, initiators, co-executors, and observers in chats.
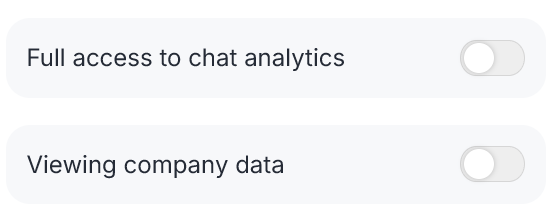
1. Full access to chat analytics
Provides access to project metrics.
A detailed description of metrics is available in the relevant article.
2. Viewing company data
A mandatory setting. If this access is not enabled, the employee will not see the project they were invited to.
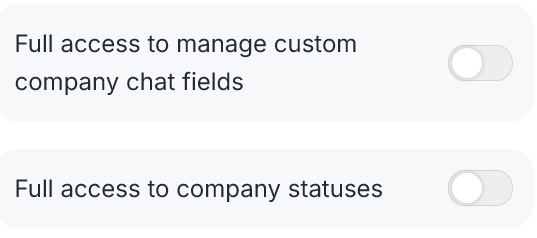
3. Full access manage custom company chat fields
Provides full access to editing custom chat fields of the project in Scenario Dialogs.
4. Full access to company statuses
Provides full access to configuring funnels in Scenario Dialogs.
The role has been created — you can now invite employees:
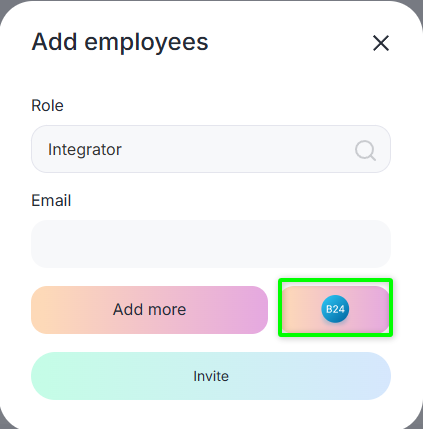
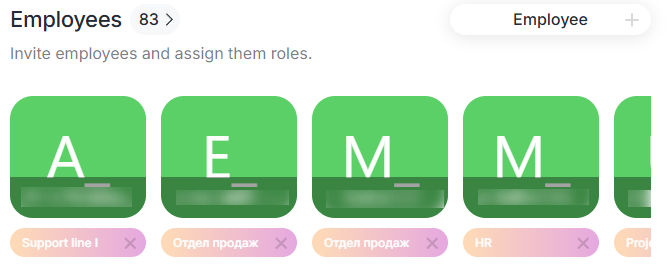
Step 1. Go to the «Employees» section and click «Employee +».
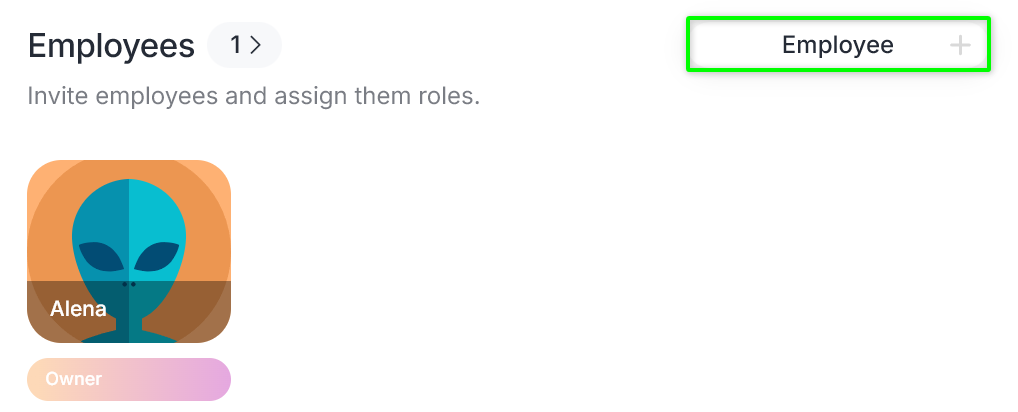
Step 2. Select the role under which the employee will be invited.
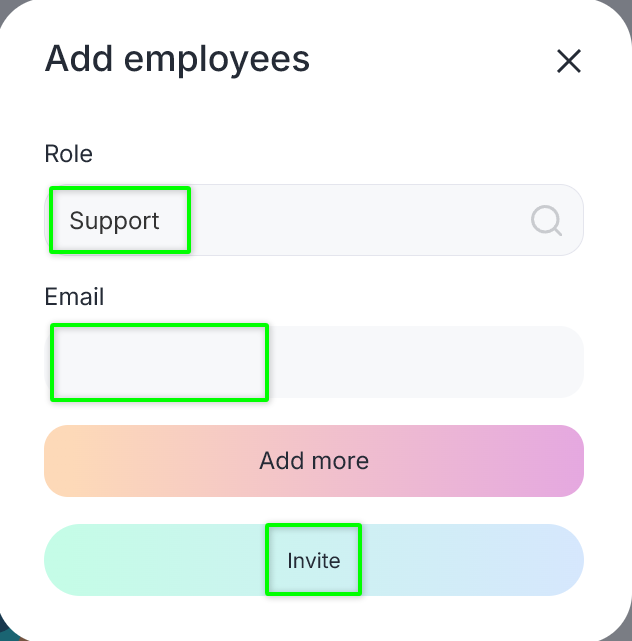
You can invite an employee in two ways:
Enter the employee’s email address and send the invitation.
If a personal account is not registered with the specified email address, the employee will receive an email with login details.
If a personal account already exists, the employee only needs to log in.
Please note: before importing employees from the CRM, you must configure the integration. See the article for details.
Click the Bitrix24 icon, select the employees to invite by enabling the toggle, and click «Invite».
Invited employees are displayed in the «Employees» section, and access permissions are applied according to the assigned role.
If employees have already been invited to ChatApp, you can match them with CRM users.
This is required for correct synchronization of responsible users.
For example, if one employee is assigned as responsible in Scenario Dialogs, but a different employee is assigned in the CRM, this leads to inconsistencies in chat and deal processing logic.
Synchronization allows you to assign a single responsible user across all systems.
How to perform synchronization:
- Configure the CRM integration according to the instructions.
- Open the profile of the required employee in ChatApp.
- In the «CRM employee» field, select the corresponding employee for synchronization.
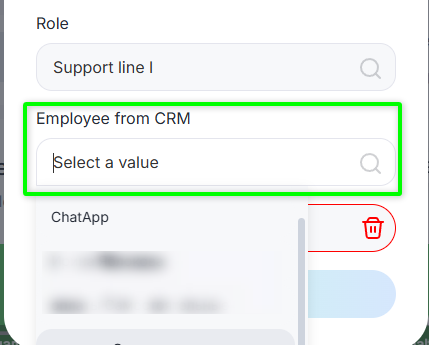
After saving, the employee data will be synchronized between ChatApp and the CRM.