Mailing to Subscribers
If a user subscribes to a ChatApp bot, their data is automatically added to the subscriber list in the Personal Account. Based on this list, you can create and send campaigns.
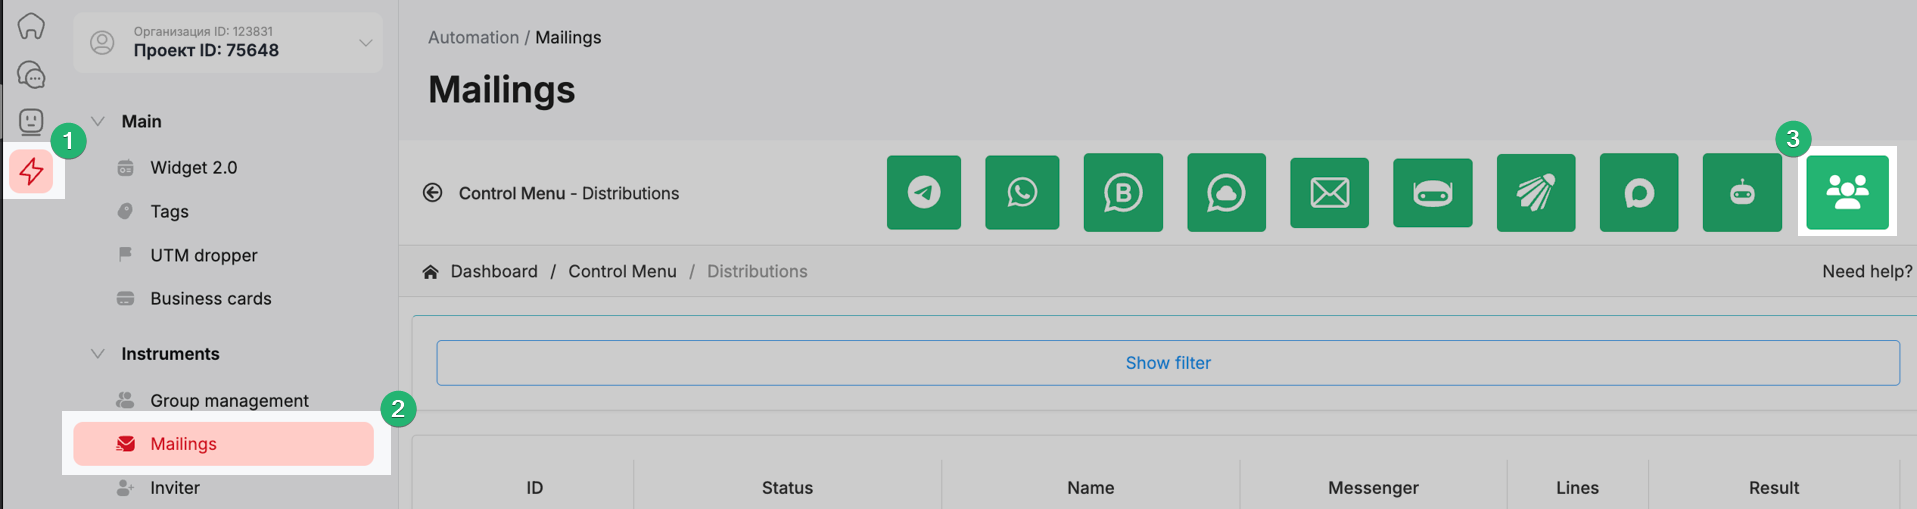
Creating a Campaign for Subscribers
1. Go to the ChatApp Personal Account.
2. Select the “By Subscribers” section in the left-hand menu.
3. Complete the basic campaign setup.
4. Select a line and upload the subscriber list.
5. Enter the message text.
6. Attach a file if necessary.
7. Click “Save”.
Enabling Subscription Collection by the Bot
Go to the “Bot” section.
Select the required bot.
Create a new condition “Bot Subscriptions”.
Response to a subscribed client — a message sent upon subscription (for example, a greeting or a promo code).
Response to an unsubscribed client — a message sent upon unsubscription.
“Subscribe” command — a word or command to add a user to the database.
“Unsubscribe” command — a command to remove a user from the database.
After receiving the command, the bot sends the data to the server, where the contact is added to or removed from the subscriber database.
Click “Save”.
After saving, the bot starts recording subscriptions in the corresponding messenger.
Viewing the Subscriber List
Go to the “Automation” section.
Select the “Subscribers” item.
The table displays:
Subscriber ID;
license number used when sending the subscription offer;
messenger;
command (“Subscribe” / “Unsubscribe”);
subscription status.