Create a group
The robot creates a group chat and adds the client to it.
How to add the ChatApp robot:
Step 1. Go to the “Robots” section in the required CRM funnel.
Step 2. On the stage where the robot should trigger, click “+”.
Step 3. In the left-hand list, scroll down and open the “Other robots” section.
Step 4. Select the robot [ChatApp for WhatsApp, Telegram, Viber] — “Create group”.
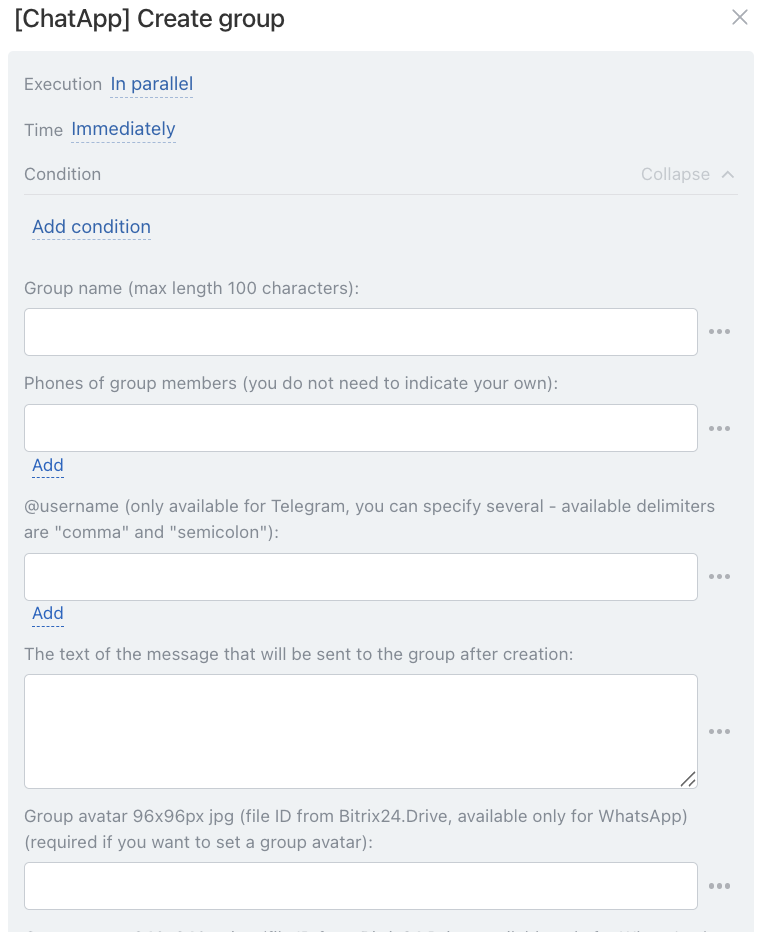
• Independently of other robots — starts immediately (default).
• After the previous robot — starts only after previously configured robots on this stage have completed.
When — the robot trigger moment:
• Immediately — when the card moves to the stage (default).
• After time — delayed start (set interval).
Conditionally — additional conditions for robot execution (if needed).
If the condition is met — the robot will run. If not — the robot will not run.
• Manually — enter one or more numbers (comma or semicolon separated).
• Via variable — the number is pulled from the CRM card: click the three dots → select entity (Lead or Deal) → choose the field where the phone number is stored.
If phone numbers are stored in different fields (“Mobile”, “Work”, etc.), use variables:
• for lead — {{Phone (text)}}
• for deal — {{Contact: Phone (text)}}
The “Phone (text)” variable pulls all numbers from the CRM card.
If multiple numbers are present, each number will be added to the group chat. To use a specific number, select the appropriate field.
The “Username” field is used to add a user by Telegram username.
To specify username via variable: click the three dots → select entity (Lead or Deal) → choose the field where the client’s username is stored:
• for lead — {{E-mail (text)}}
• for deal — {{Contact: E-mail (text)}}
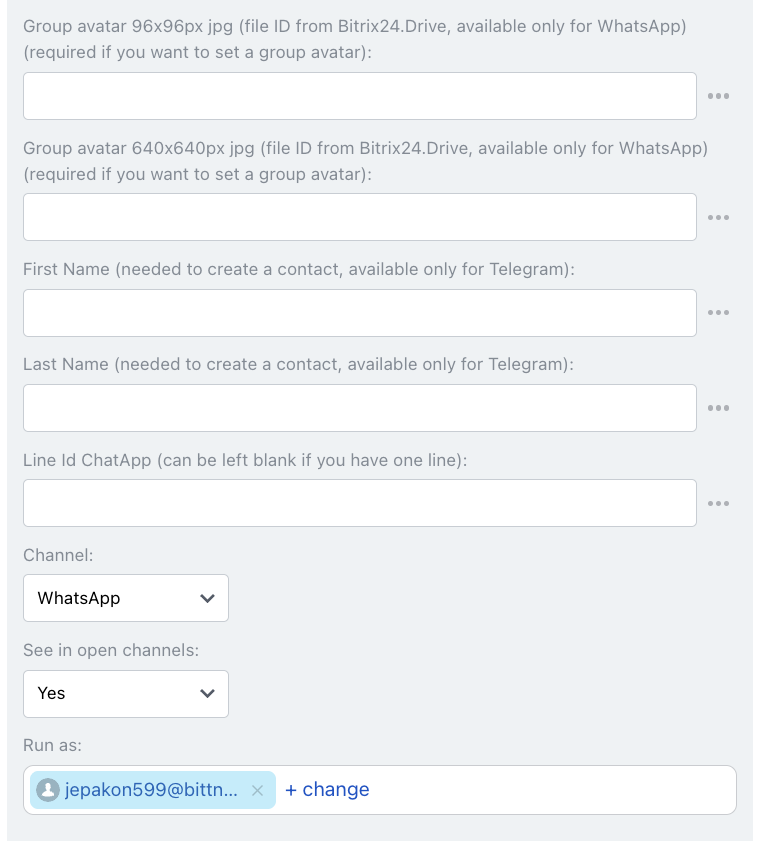
In the “Avatar” field, specify the Bitrix24 Drive file ID to set the group chat avatar. Two avatar sizes are available:
— 96 × 96 px (JPG)
— 640 × 640 px (JPG)
Choose the appropriate field depending on image size and insert the Bitrix24 Drive file ID.
How to get a file ID from Bitrix24 Drive:
Step 1. In Bitrix24 Drive, right-click the required file.
Step 2. Click “Share” → “Copy internal link”.
The link will look like:
https://b24-xxxxx.bitrix24.ru/bitrix/tools/disk/focus.php?objectId=93&cmd=show…
The file ID is the number after objectId=
In this example, the file ID is: 93.
Copy your file ID and paste it into the “Avatar” field.
Enter first and last name if the number is not saved in CRM — a new contact will be created.
In the “Channel” field select the communication channel from the specified line.
The robot will send the message through the selected channel.